
Got a thing for cozy cabins, smoky lines, and that hand-touched look? Same. Wood burning—aka pyrography—turns plain wood into art with nothing but heat and a bit of patience. The best part: you don’t need a fancy studio. Just a wood-burning pen, some scrap wood, and a vibe.
Below are 15 creative, beginner-friendly (but pro-looking) ideas to give your space that warm, rustic glow. We’re talking signs, coasters, cutting boards, even headboards. Let’s spark some inspo, shall we?
1. Welcome Signs That Actually Feel Welcoming
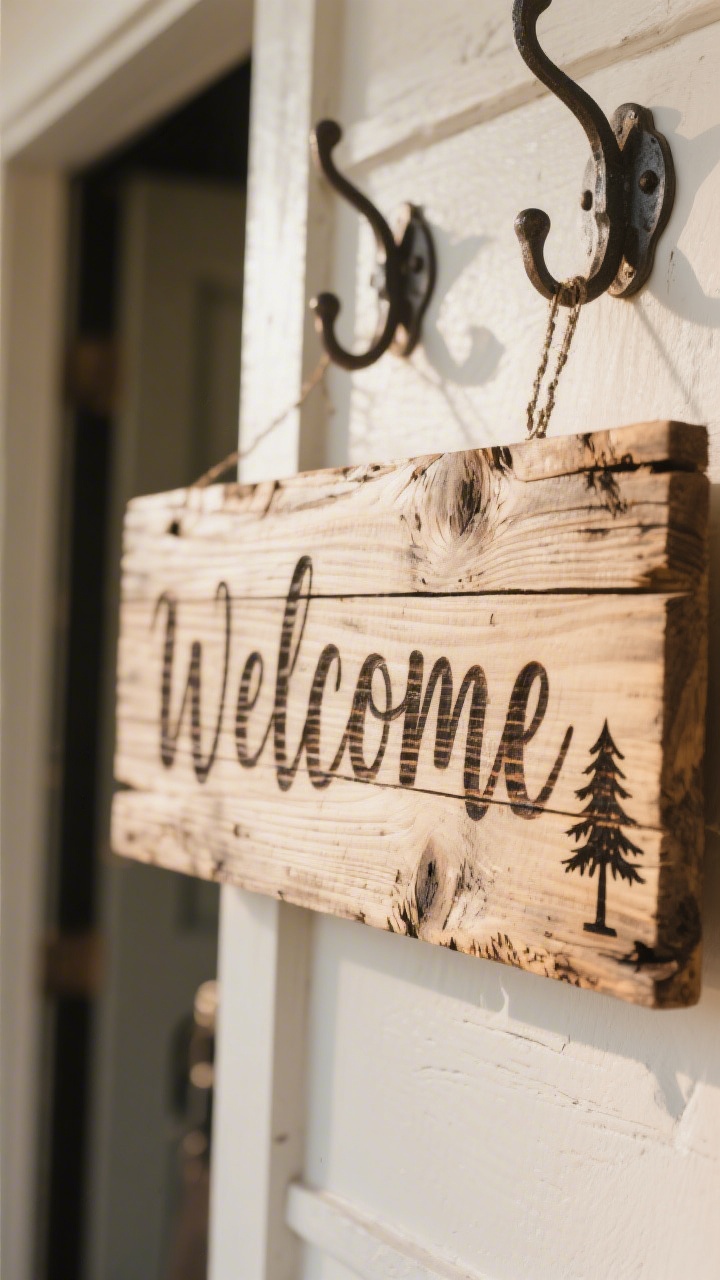
First impressions count. A hand-burned “Welcome” sign instantly gives your entryway that farmhouse-chic charm without screaming “I got this at a big-box store.” Use reclaimed barn wood for bonus rustic points and imperfect edges that make it extra character-y.
Which Home Upgrade Does Your Space Really Need?
Answer 5 quick questions to discover the ideas that will work best for your home.
How to Nail the Look
- Stencil first. Lightly pencil your letters and flourishes so you can follow clean lines.
- Use a calligraphy tip. Swap tips to get thick-and-thin strokes for that handwritten feel.
- Finish with matte poly. A light protective coat keeps it from fading in sunlight.
Want it extra special? Add your family name or a tiny pine tree motif. It screams “cozy cabin,” even if you live on the third floor.
2. Personalized Cutting Boards You’ll Actually Use
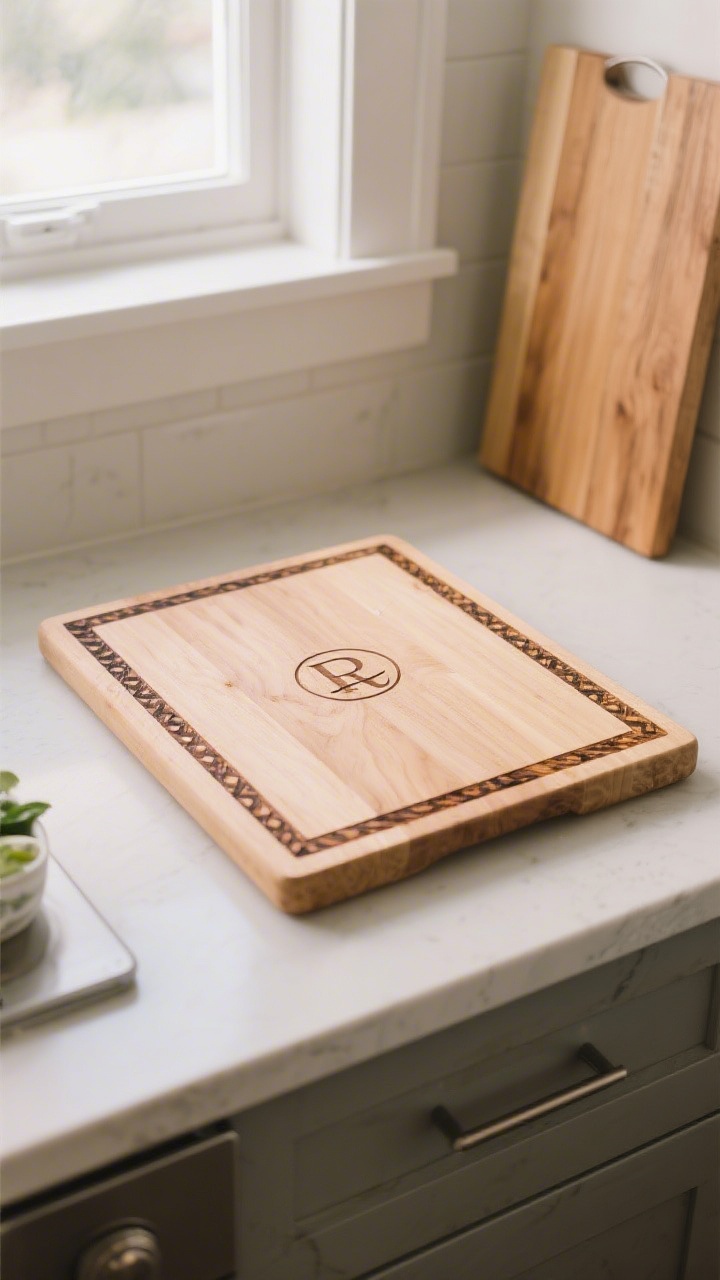
Custom cutting boards are the ultimate gift-to-self. Burn in a simple monogram, a favorite recipe, or a tiny border pattern that frames the board edges. Keep it minimal and you’ll end up using it every day, not just for display.
Safety + Style Tips
- Stick to the rim. Burn away from the food prep center to keep surfaces smooth and sanitary.
- Treat with food-safe oil. Mineral oil or board cream maintains the wood and deepens the burn contrast.
- Use light pressure. Let the heat do the work to avoid gouging the grain.
FYI: Maple and beech work beautifully. Avoid super soft woods that can fuzz up under heat.
3. Cozy Coaster Sets With Nature Motifs
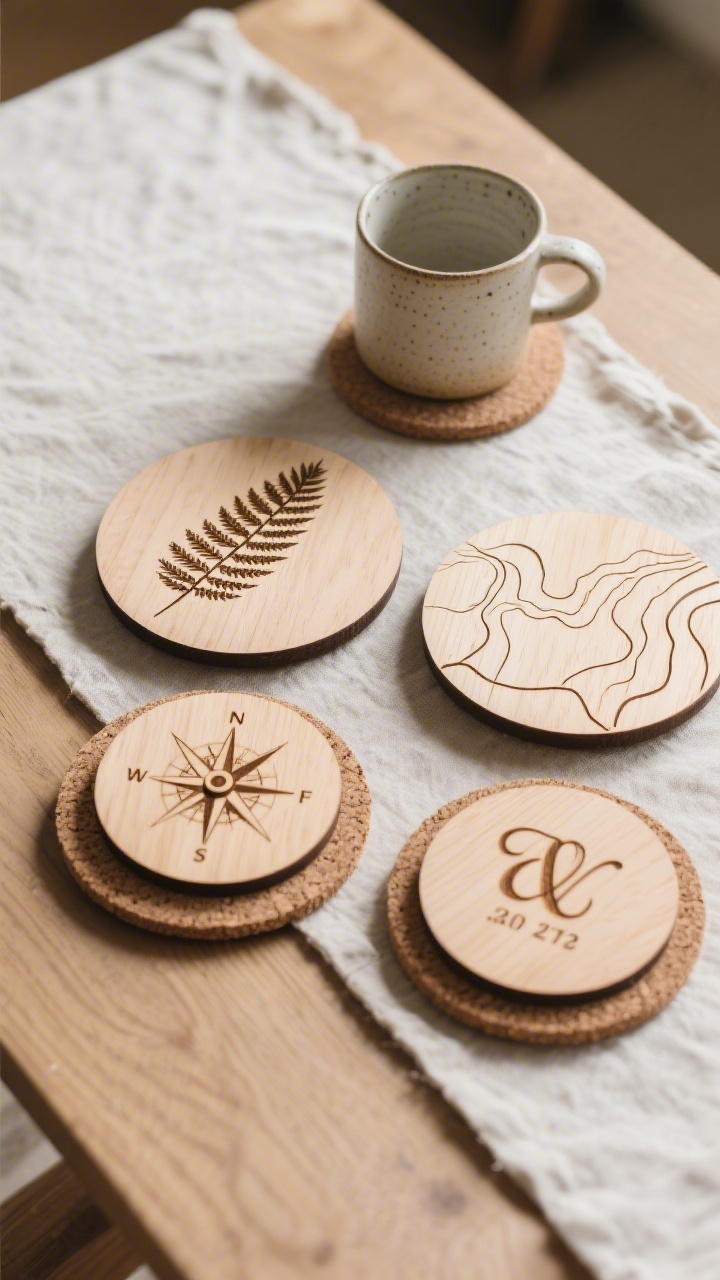
Coasters are small, quick wins—and the perfect canvas for experimenting. Think mountain ranges, ferns, campfire icons, or a tiny compass. Mix a set of four designs that vibe together without being matchy-matchy.
Design Ideas
- Line art leaves. Simple outlines look chic and don’t scorch too dark.
- Minimalist topography. Layer wavy contour lines for an earthy, modern twist.
- Initials + date. Great for wedding gifts or housewarmings.
Seal with a waterproof finish, then add cork pads underneath so your table doesn’t squeak every time you set down a mug.
4. Rustic Recipe Plaques for Grandma’s Greatest Hits
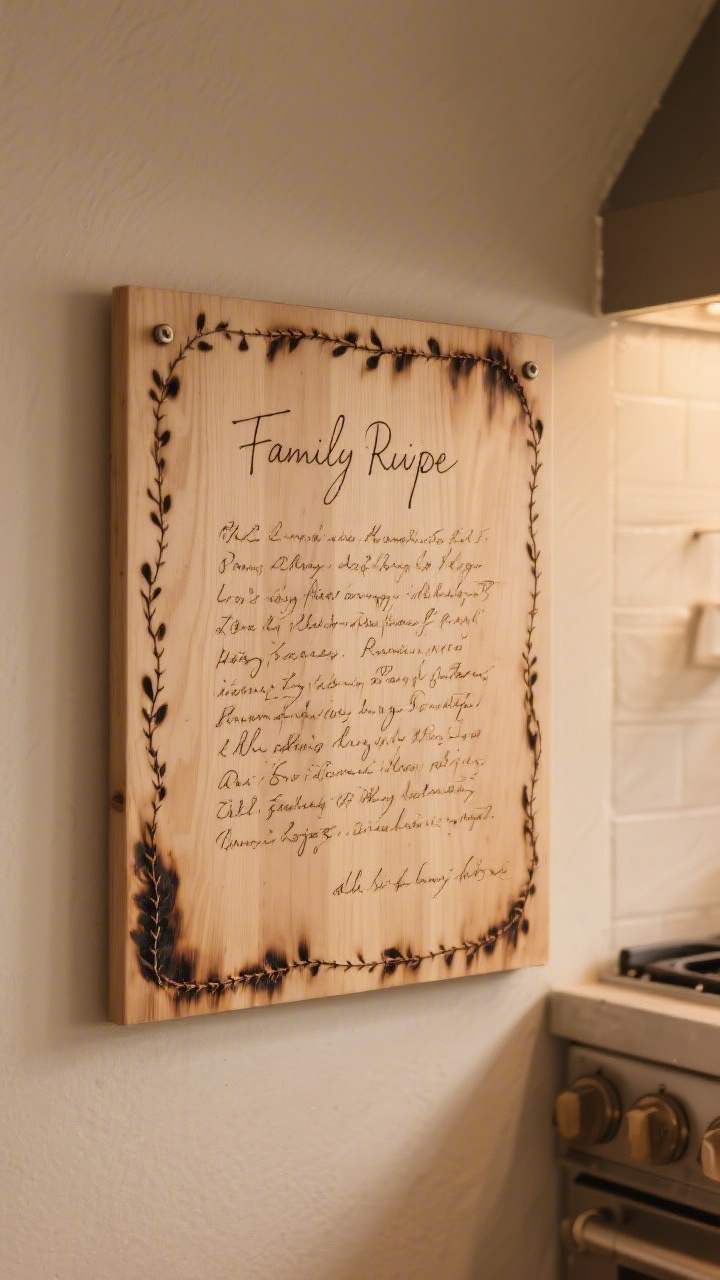
Turn that splattered recipe card into wall-worthy art. Burn the handwritten recipe onto a smooth board for a sentimental kitchen statement that doubles as decor. It’s like framing a memory—but warmer.
Pro Move
- Trace the handwriting. Tape carbon paper under the card and lightly trace to transfer the letters.
- Keep spacing consistent. Use light pencil guidelines to stay level.
- Frame with a border. A simple vine, stitch line, or corner brackets completes the piece.
Hang near your stove and try not to cry the first time you make the recipe while looking at it.
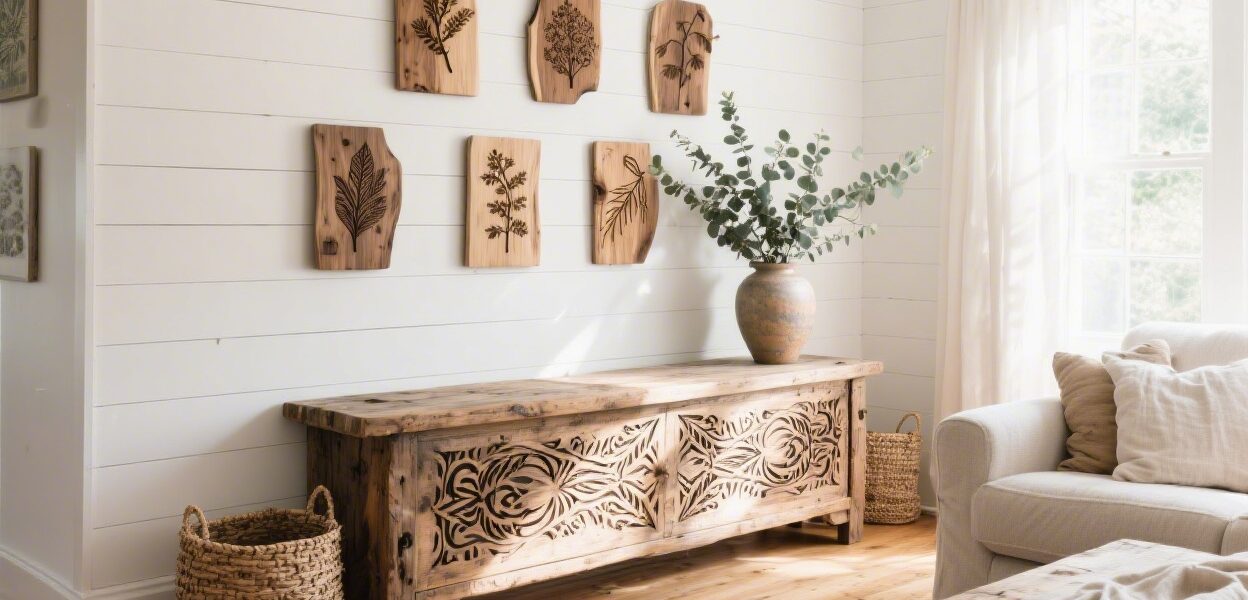
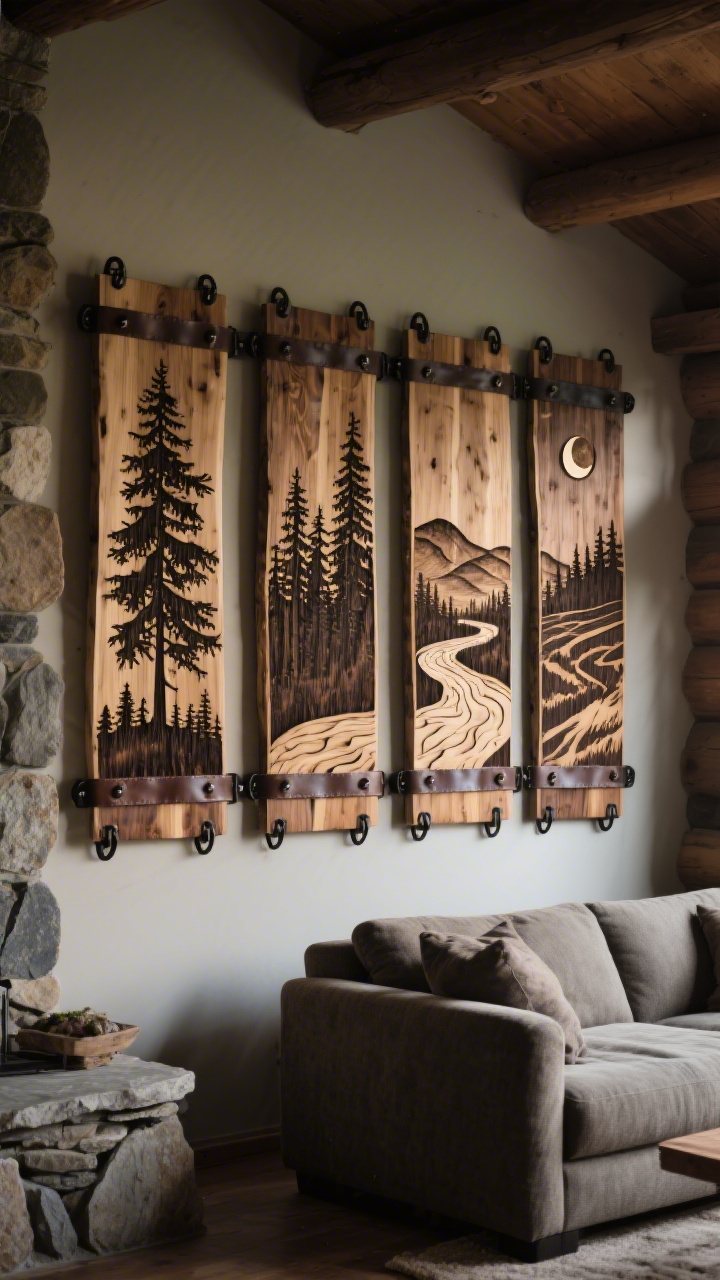
5. Cabin-Style Wall Art With Forest Silhouettes
🎯 Discover Your Home Decor Style
Big blank wall? Try a set of wood-burned panels with mountain silhouettes, tree lines, or a wandering river. Keep it monochrome and let the scorched tones create natural shading. Group 3–5 panels together for instant gallery vibes.
Layout Tips
- Stagger heights. Mix tall pines on one panel with low hills on another.
- Vary burn intensity. Layer light and dark tones to add depth.
- Add a tiny moon. Small celestial touches = moody magic.
Pair with iron hooks or leather straps for hanging to dial up the rustic factor.
6. Nameplates for Mudrooms, Pantries, and Secret Nooks
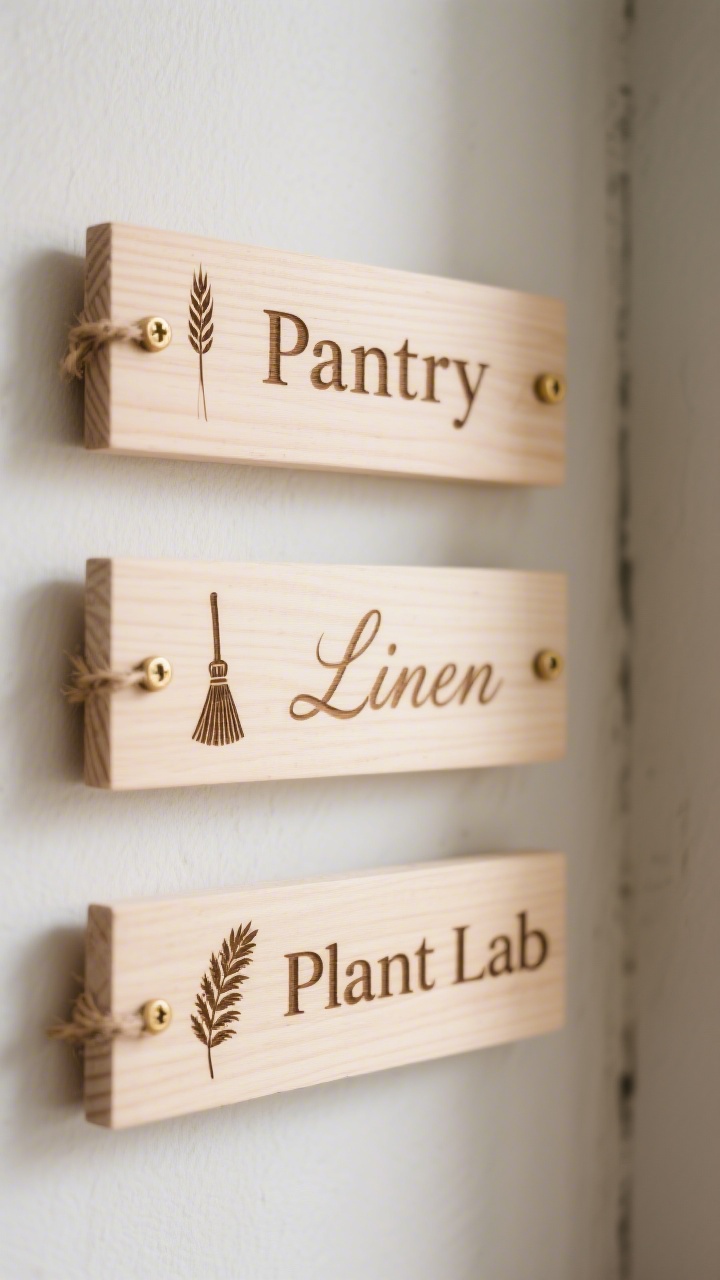
Labeling isn’t just for Type A folks. Wood-burned nameplates make any corner feel curated, from “Pantry” and “Linen” to “Plant Lab” (yes, you may be extra). They’re functional, tidy, and ridiculously charming.
Quick How-To
- Choose a slab. Rectangular basswood plaques are easy to source and burn smoothly.
- Pick a font vibe. Serif for classic, script for cozy, block for modern rustic.
- Mount with twine or screws. Twine = quaint; brass screws = clean.
Bonus idea: Use icons too—tiny wheat stalk for pantry, broom for storage, fern for sunroom.
7. Boho-Rustic Ornaments for All-Year Trees
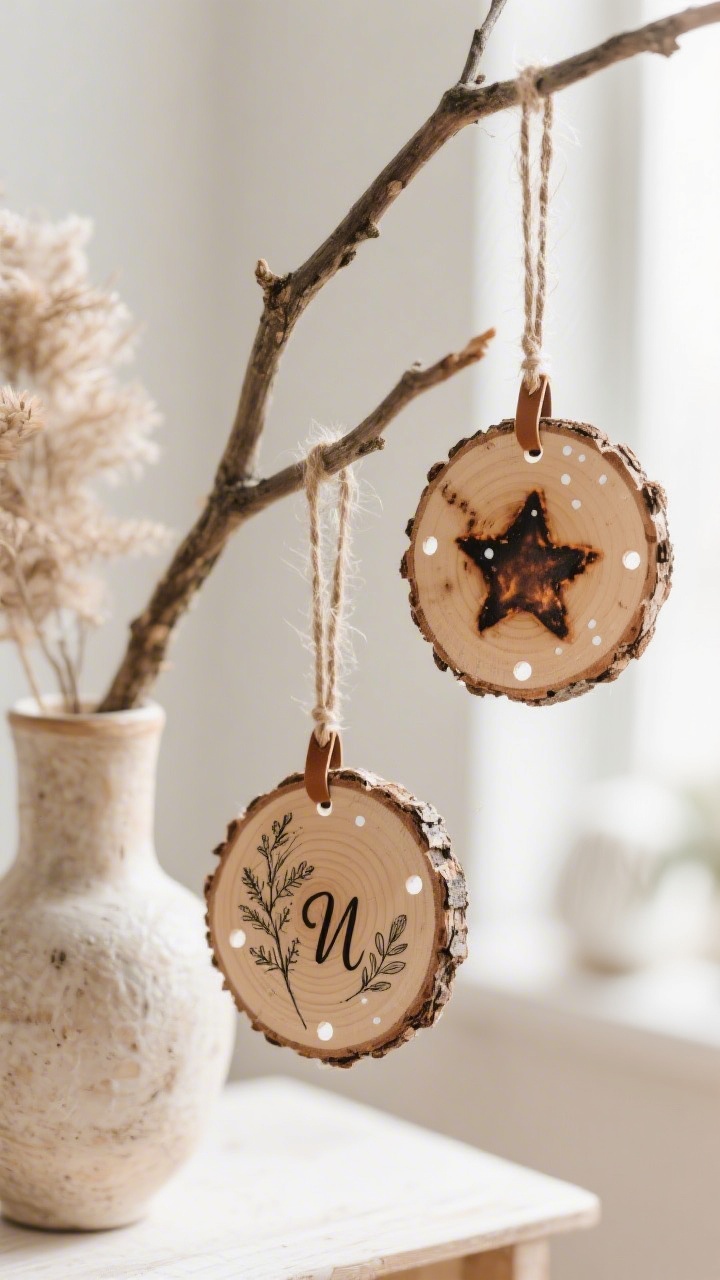
Ornaments aren’t just for December. Hang mini round slices with burned stars, initials, or botanical sketches on branches in a vase or from cabinet knobs. It’s small-scale decor that tells a story.
Make It Pop
- Use wood slices with bark. The rugged edges give that forest-fresh look.
- Drill a clean hole. Thread through leather cord or jute twine.
- Add white paint accents. A few painted dots or lines can contrast beautifully with the burn.
Rotate designs with the seasons—snowflakes, wildflowers, suns, leaves. Easy swap, big mood shift.
8. Burned Borders on Shelves and Mantels
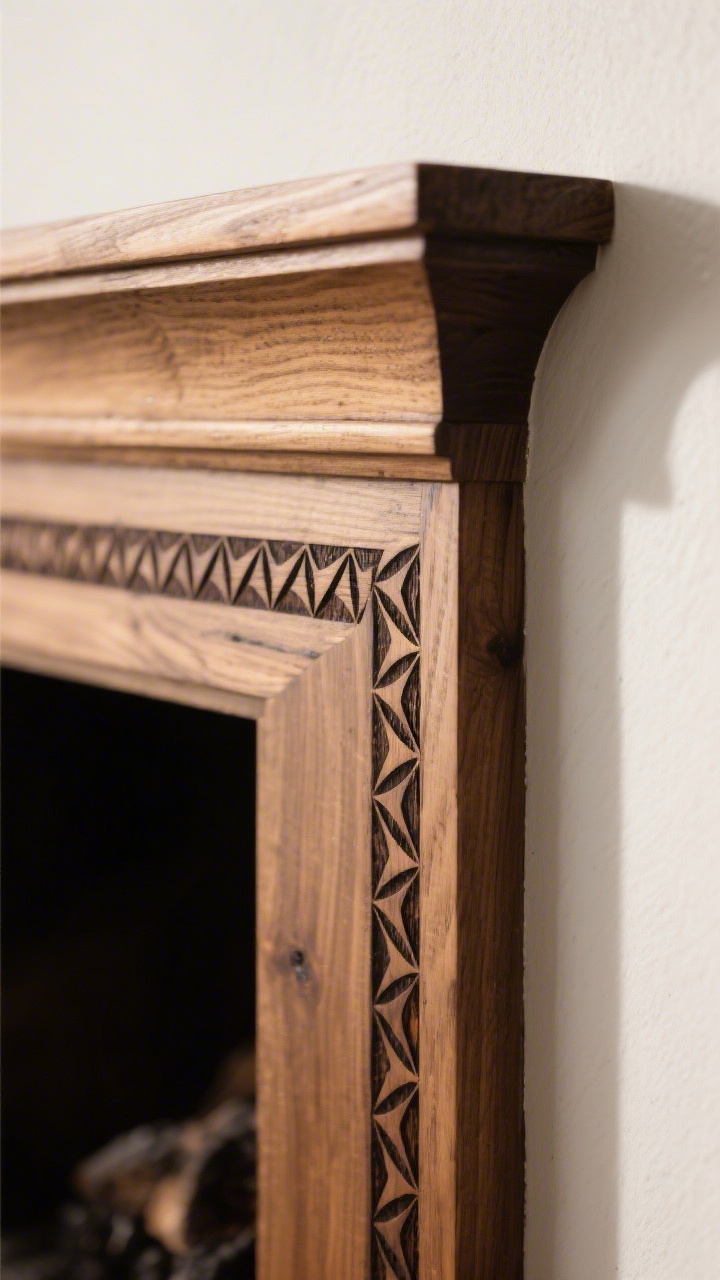
You don’t need to cover a whole surface to make an impact. A subtle burned border along a shelf or mantel edge adds artisanal polish without shouting. Think of it as wood eyeliner: sharp, defined, and a little flirty.
Pattern Ideas
- Chevron or herringbone. Timeless and crisp.
- Dot-dash stitch. Soft and handmade-looking.
- Tiny triangles. Modern, minimal, and easy to repeat.
Seal after burning to prevent soot transfer, especially on surfaces you’ll dust often.
9. S’mores-Ready Campfire Trays
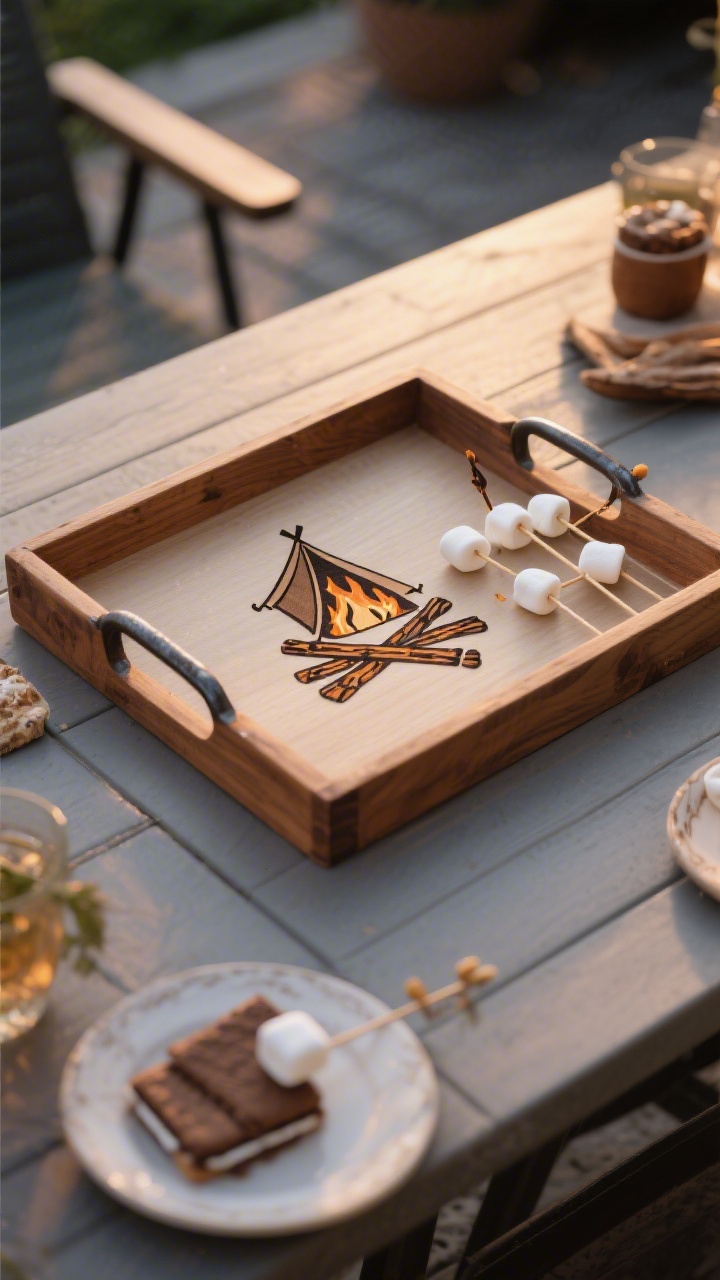
Hosting a backyard hang? Whip up a serving tray with camp-inspired motifs: crossed sticks, tiny tents, or marshmallows on skewers. It’s equal parts adorable and practical.
Build + Burn Tips
- Use a pre-made unfinished tray. Sand to silky before burning.
- Burn the base design. Keep the center simple for easy cleaning.
- Add iron or leather handles. Rustic hardware finishes the look.
Finish with a durable poly so sticky s’mores drips wipe clean. Obviously essential.
10. Layered Monograms on Round Plaques
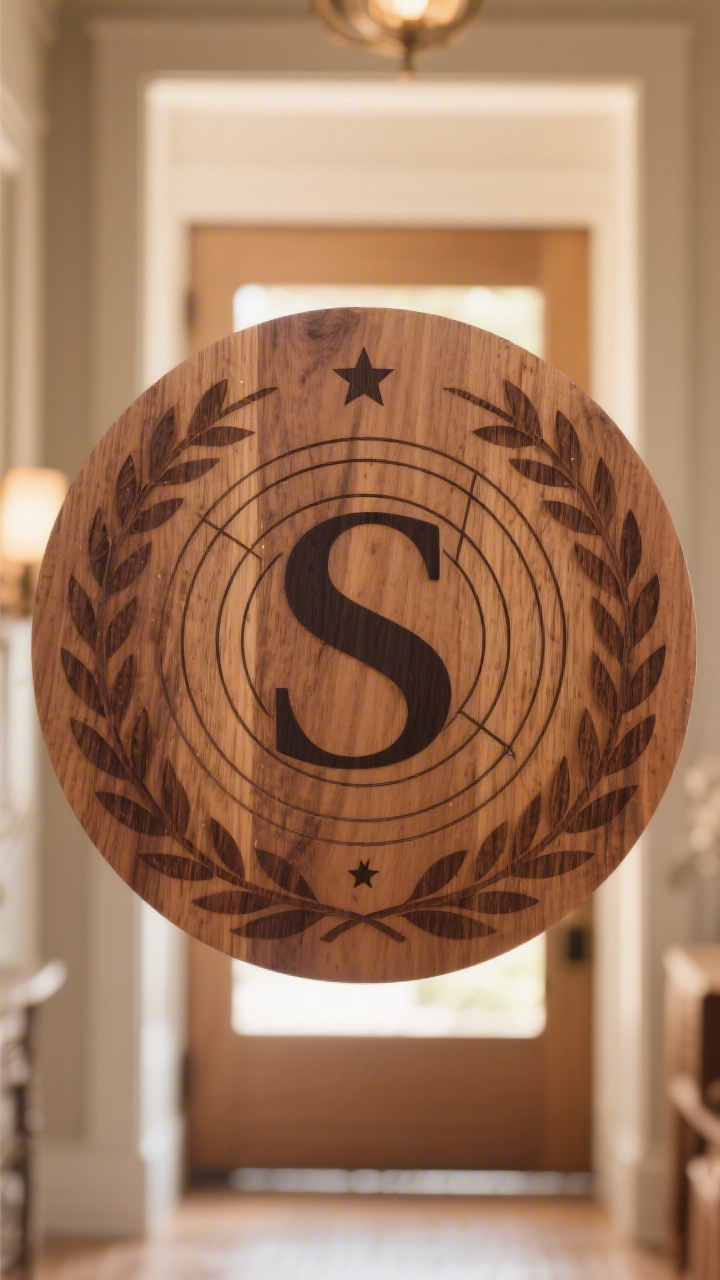
Monograms can go from basic to breathtaking with layers. Burn a big initial, then overlay delicate florals, geometric rings, or a compass rose behind it. The contrast of bold and fine lines looks luxe.
Design Flow
- Start with the background. Light, wide rings or laurel wreaths first.
- Add the initial. Go darker and thicker to pull focus.
- Finish with tiny accents. Dots, stars, or leaves around the edges.
Hang it on your front door or above a console table like the classy woodland royalty you are.
11. Patterned Spoon Rests and Utensil Holders
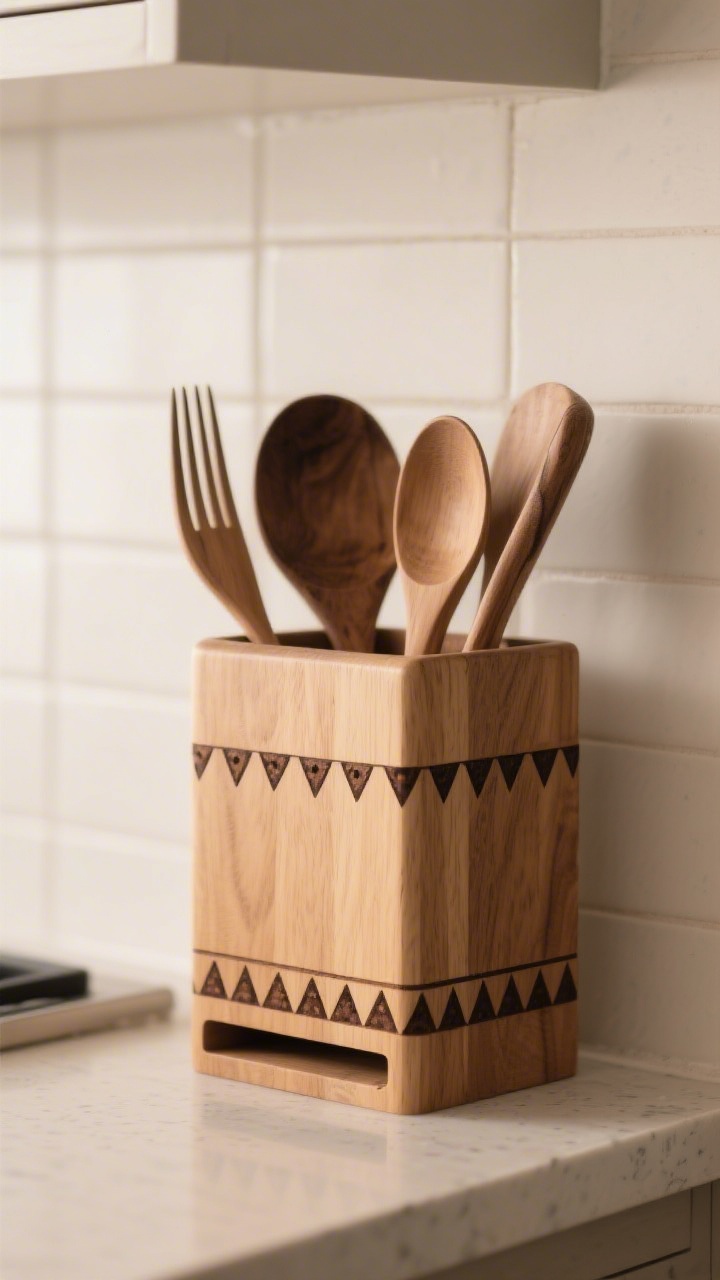
Give your kitchen tools a glow-up with subtle patterns on wooden spoon rests or utensil caddies. A band of burned triangles or dots instantly makes it look boutique-level handcrafted.
Keep It Kitchen-Safe
- Burn on the exterior. Avoid inside surfaces that touch food.
- Go for simple repeats. Easy to execute and easy on the eyes.
- Seal appropriately. Use a finish suited for kitchen humidity.
IMO, a single motif repeated neatly is more stylish than a bunch of competing designs. Clean, crisp, cozy.
12. Quote Boards That Don’t Feel Cheesy
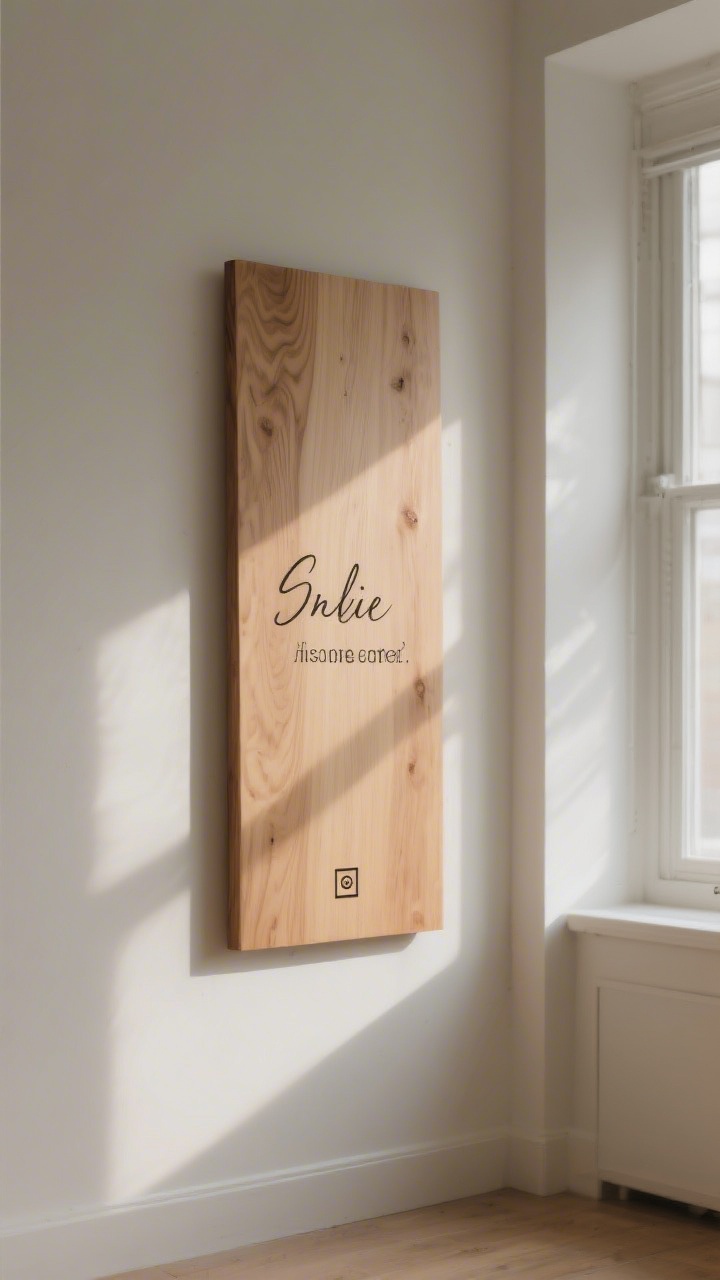
Yes, words on wood can be cringe. But done right—short, punchy, and artfully spaced—it’s a vibe. Choose a quote that actually means something to you and pair it with a tiny icon or border.
Lettering Secrets
- Mix two fonts max. One script, one sans serif for balance.
- Use negative space. Let the wood breathe around your words.
- Burn slow for curves. Smooth movement avoids jagged letters.
Pro tip: Keep it under ten words. The shorter the phrase, the stronger the impact.
13. Topographic Headboard for Statement Bedrooms
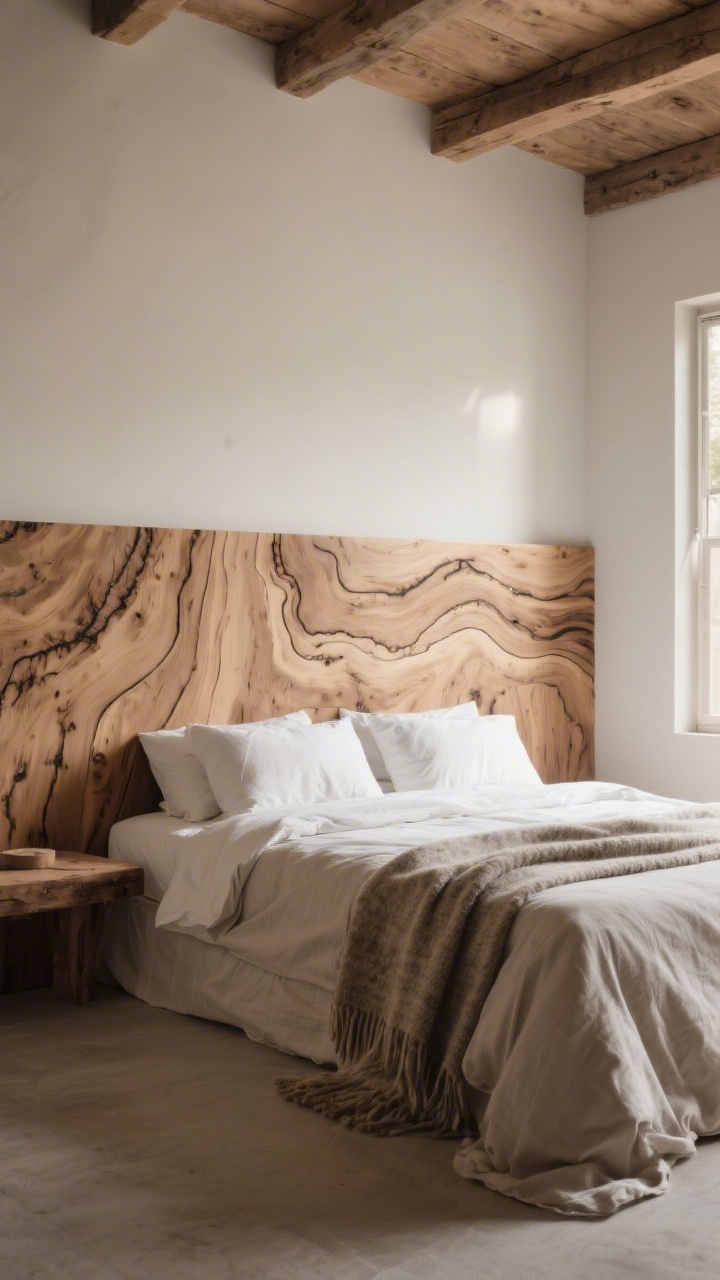
If you’re ready for a bigger project, burn a gentle topographic pattern across a wooden headboard. The sweeping lines feel organic, calming, and very “weekend retreat.” It’s the sort of piece guests ask about instantly.
How to Tackle Scale
- Sketch full-size. Use chalk or pencil to map flowing lines before burning.
- Vary spacing. Closer lines for darker zones, wider for light and airy.
- Seal satin. A satin finish keeps it sophisticated, not shiny.
Pair with linen bedding and a wool throw. Boom: magazine-worthy rustic minimalism.
14. Pet Bowl Stands With Pawsonality
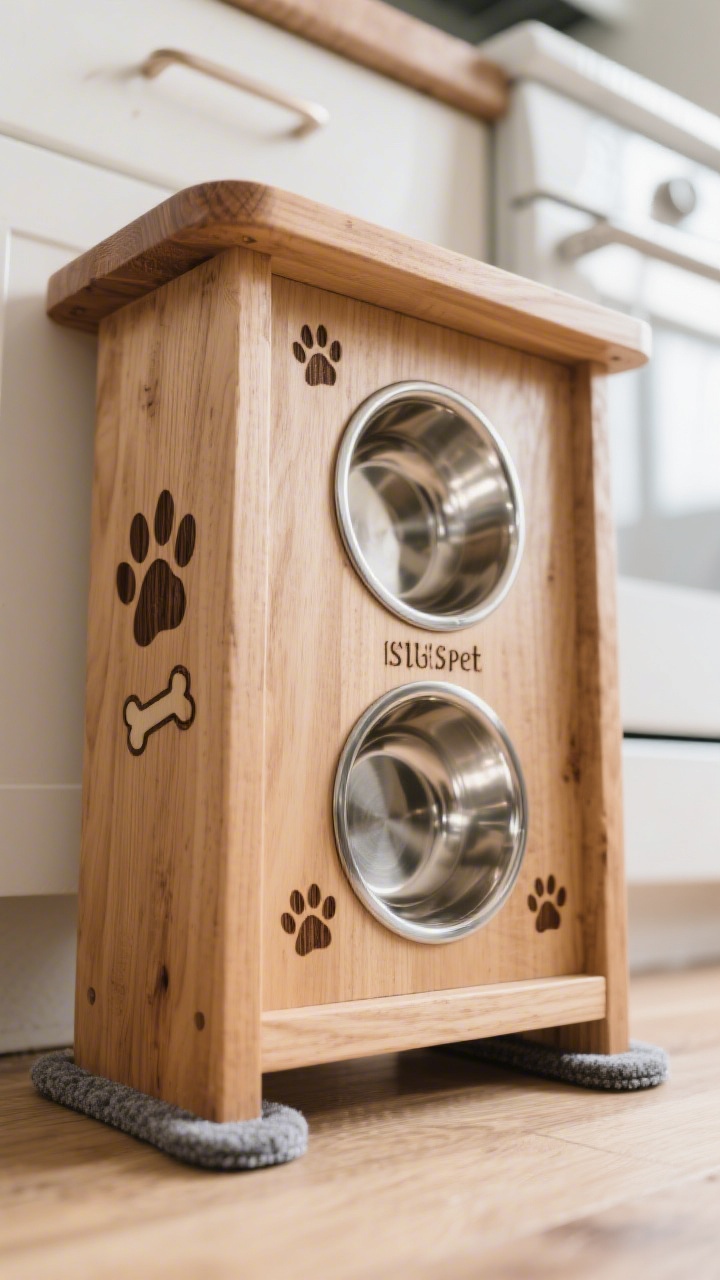
Your dog deserves good design too. Create a simple wooden feeder stand and burn in their name, tiny bones, or paw prints along the sides. It’s cute without drifting into cutesy.
Build Smart
- Measure bowl diameters. Cut circular openings so bowls nest securely.
- Keep burns on the exterior. Avoid areas that touch water or food.
- Add felt pads. Protect floors and reduce sliding.
Seal with a water-resistant finish because, let’s be real, someone will be a messy drinker.
15. Map Plaques of Places You Love
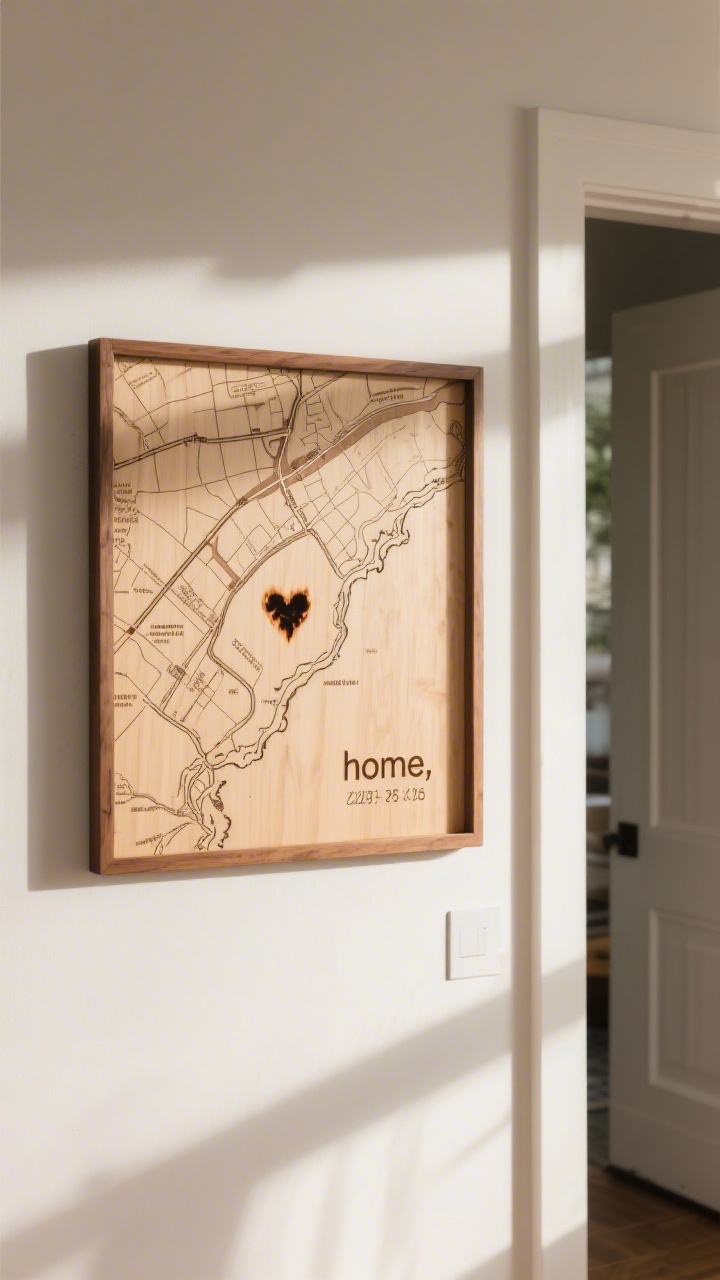
Commemorate a favorite city, hiking trail, or lake with a burned map plaque. Outline shorelines or streets, mark a tiny heart for “home,” and you’ve got decor with deep personal meaning.
Map It Like a Pro
- Print a reference map. Simplify it—think major lines, not every alley.
- Transfer lightly. Use graphite or carbon paper for crisp guides.
- Label selectively. One or two names or coordinates keep it clean.
Hang near your entryway, and watch visitors ask about the story behind it. Instant conversation starter.
Quick Starter Kit: Tools & Safety
- Essentials: Wood-burning pen with multiple tips, sandpaper (220+), pencil, ruler, stencils, and a good finish (poly, oil, or wax as appropriate).
- Best Woods: Basswood, birch, maple, and beech. Avoid resin-heavy or pressure-treated wood.
- Safety: Ventilate well, keep a metal stand for your pen, don’t touch hot tips (obviously), and let pieces fully cool before finishing.
Finishing Touches That Elevate Everything
- Contrast matters. Lightly sand smoky edges to clean lines without losing depth.
- Test finishes. Oils enrich grain; matte poly protects; wax gives a soft sheen.
- Hardware hacks. Leather pulls, brass screws, and black iron brackets add “designer” energy fast.
There you go—15 wood burning ideas that bring warmth, character, and a little campfire magic into your home. Start small with coasters or a nameplate, then level up to trays and headboards once you’re hooked. And you will be hooked—consider yourself warned.
Some content on this website is created with AI assistance and carefully reviewed and edited by the Nekig team to ensure quality and accuracy.
💬 Join Our Small Space Living & Decor Community
Get daily apartment decor ideas, smart storage hacks, and budget-friendly inspiration from thousands of small space lovers.
👉 Join the Facebook Group